 The Amber Archive
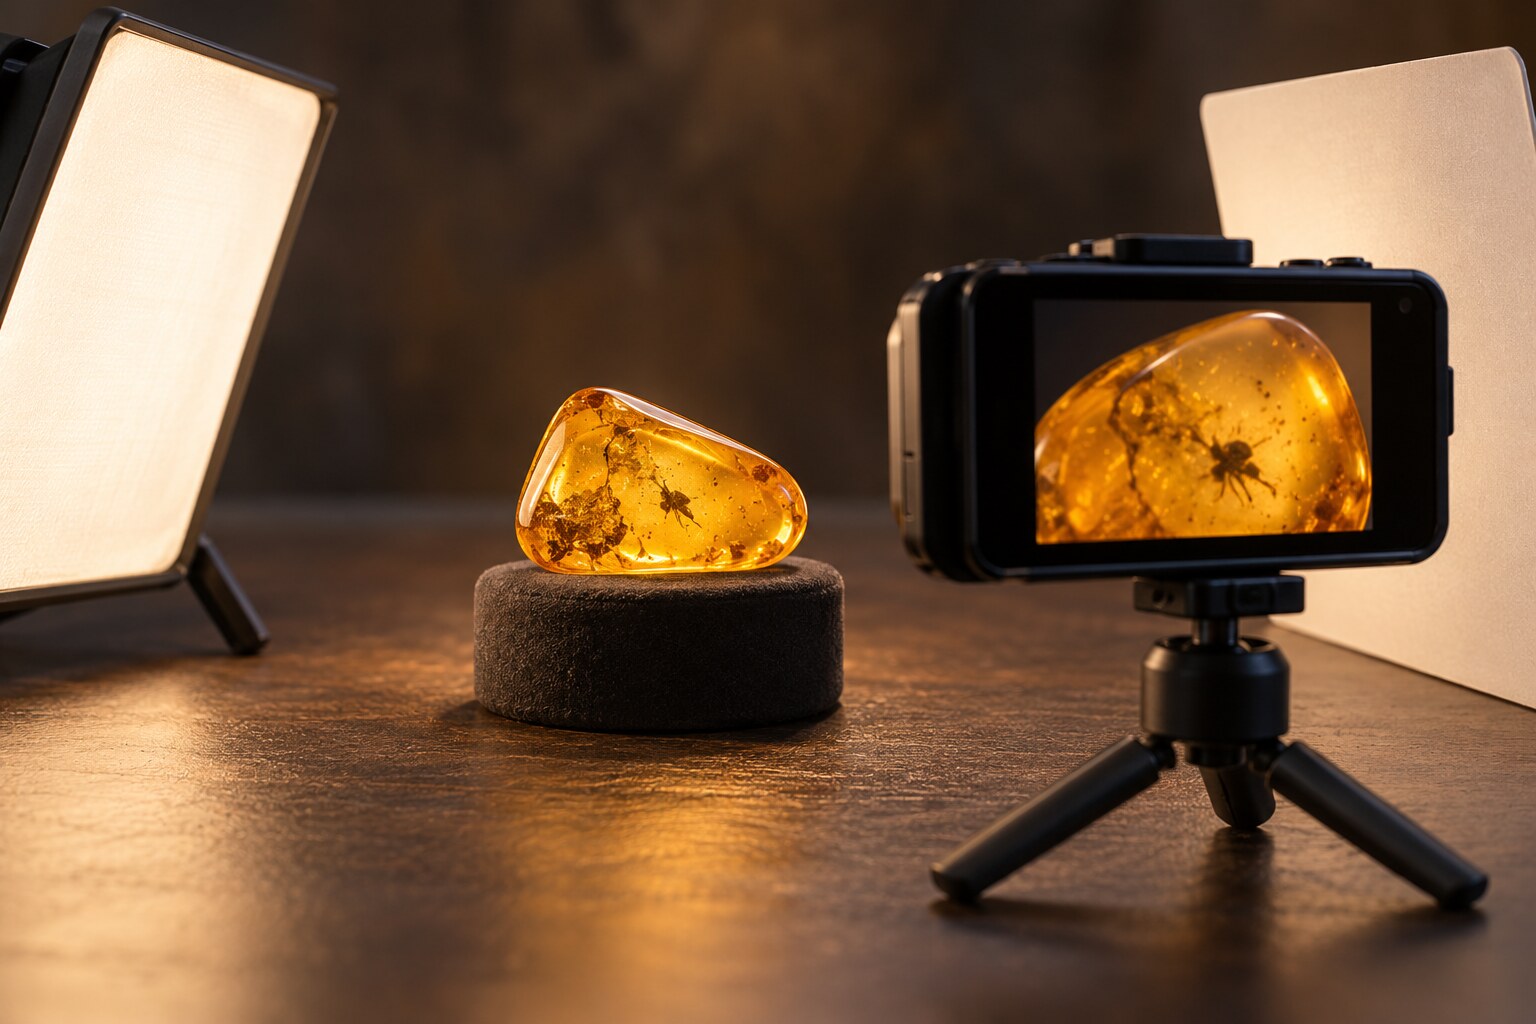
To photograph amber inclusions clearly, begin with a stable specimen, a steady camera, and soft light you can move. Make one image of the whole piece before chasing a tiny detail, then work through several angles and focus points. The goal is not to make an inclusion look more dramatic than it is. It is to create a useful record of what the camera could actually see.
A phone can do this surprisingly well. A macro lens, microscope, or focus-stacking software may reveal more, but careful lighting and honest documentation matter more than an impressive equipment list.
Begin with the whole specimen
Place the amber on a clean, padded, non-slip support. Photograph the complete piece from both sides before moving closer. Add a ruler or scale in a separate record shot, positioned in the same plane as the specimen when practical, and record the catalog number in your notes rather than placing adhesive labels on the amber.
This first photograph gives later close-ups context. It shows the outline, surface condition, and location of the inclusion. Our guide to building an amber collection explains why keeping the object, its number, and its photographs together is so useful.
Do not cut or repolish a piece merely to improve a photograph. Crighton and Carrió, writing about the National Museums Scotland collections, noted that uneven amber surfaces can create more distortion as magnification increases. Museum preparation can address that problem, but it belongs in trained hands; a collector's safest first response is to change the angle and light.
Use soft light from more than one direction
Start with a diffused lamp or bright window light, not a bare point source. Move the light to the side to reveal surface texture, then try gentle backlighting to separate a dark inclusion from the surrounding resin. A white card can bounce light into shadows, while a black card can reduce stray reflections and make edges easier to see.
Change one thing at a time. If you move the specimen, lamp, and camera together, you will not know which change improved the view. Watch for bright reflections that hide anatomy or fractures that resemble legs and veins. A pleasing image and an evidential image are not always the same frame.
GIA describes amber as soft, with poor toughness, vulnerable to chemicals, and capable of darkening with prolonged light exposure. Ordinary, brief photography does not require heat, intense UV, or chemical cleaning. Our amber care guide covers the gentler handling basics before you set up a session.
Make the camera steady before adding magnification
Use a small tripod, copy stand, or firm phone clamp. Trigger the shutter with a timer or remote control so your hand does not shake the camera. Clean the camera lens, use the highest practical image quality, and move the camera closer only as far as it can still focus. Heavy digital zoom usually enlarges pixels rather than revealing new detail.
Tap or select the inclusion as the focus point, then also make a frame focused on the amber surface. Those two images help distinguish a feature inside the resin from dust or a scratch outside it. Photograph from at least two angles; a single view can flatten overlapping structures into a convincing but misleading shape.
Treat focus stacking as a composite
At close range, only a thin slice of the subject may be sharp. One solution is to make a sequence focused from the near side of the inclusion to the far side. Software can combine those frames into a focus stack. The 2021 review by Sadowski and colleagues discusses light microscopy and other imaging approaches used for amber inclusions, while also emphasizing that suitable conservation and preparation come first.
A stack can be wonderfully informative, but label it as a composite image. Alignment errors may create halos, doubled edges, or invented-looking boundaries. Keep the individual source frames so a viewer can check what came from the camera and what came from processing.
Keep an honest image record
Save the original files before cropping, brightening, or removing background distractions. In your notes, record the date, camera or phone, lens or attachment, lighting direction, and whether the image was stacked. Name the files with the same catalog number used for the specimen. Our first-specimen guide offers a companion checklist for retaining listing and purchase evidence.
Adjustments that improve visibility are not automatically misleading. The important distinction is disclosure. A rotated, cropped, or color-corrected photograph can remain a useful record when the unedited original survives and major processing is noted.
Know what a photograph cannot prove
A clear image may support a tentative identification, show where a fracture lies, or help a specialist decide whether a closer examination is worthwhile. It does not, by itself, prove the resin's geological age, locality, treatment history, or that an inclusion was enclosed naturally.
If a feature seems unusual, share the whole-piece view, several close-ups, and the specimen's documentation. Describe visible traits before naming a species. Good amber inclusion photography does not replace analysis; it makes the next question clearer and leaves a record that someone else can evaluate.